Physical Address
304 North Cardinal St.
Dorchester Center, MA 02124
Physical Address
304 North Cardinal St.
Dorchester Center, MA 02124
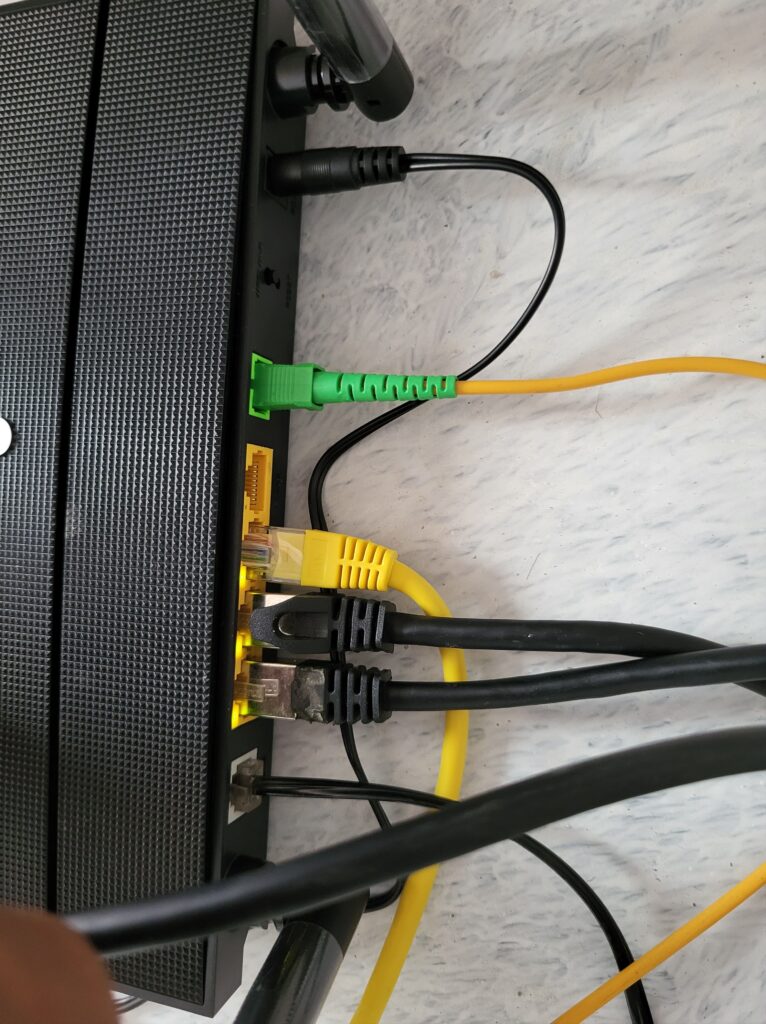
The TIA 568 color code for connector bodies and/or boots is Beige for multi-mode fiber, Blue for single-mode fiber, and Green for single-mode APC (angled) connectors.

Collect the following details from your old router. If you don’t know where to get those details, ask your local connection provider, and they will provide them.
Internet:
| VLAN ID | 393 |
| User Name | ******[email protected] |
| Password | *********** |
Voice:
| Server URL | tn.ftth.ims.bsnl.in |
| SIP User Name | +914651****** |
| SIP Password | *********** |
| Outbound Proxy IP Address | 10.191.60.49 |
Once you get all the configuration details, connect the fiber cable to the back of your router and power up the router.
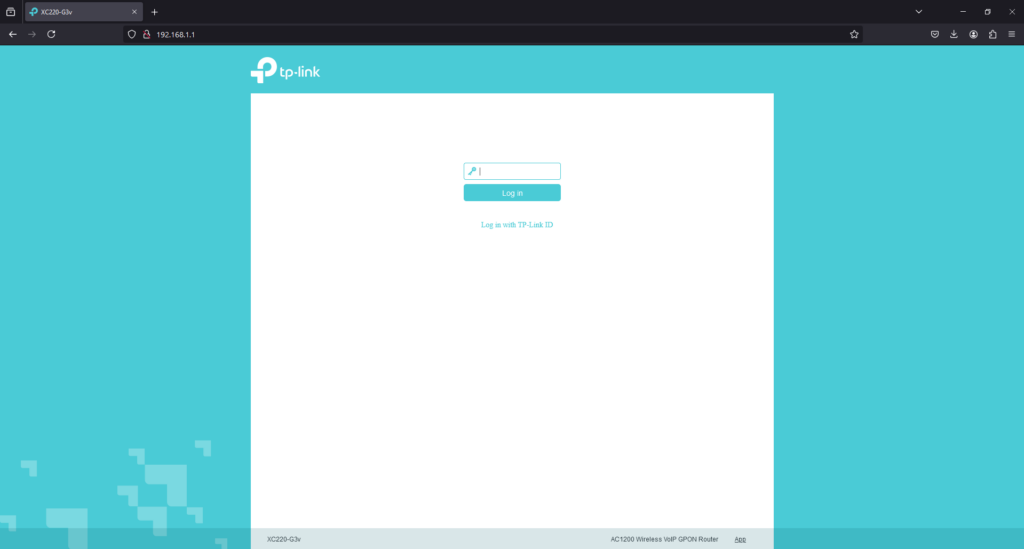
Connect the router’s Wi-Fi to your laptop and open this URL in your browser: http://192.168.1.1/ If you are accessing the router console for the first time, it will ask you to set a password for the router.
Once setting the password, login to the router.
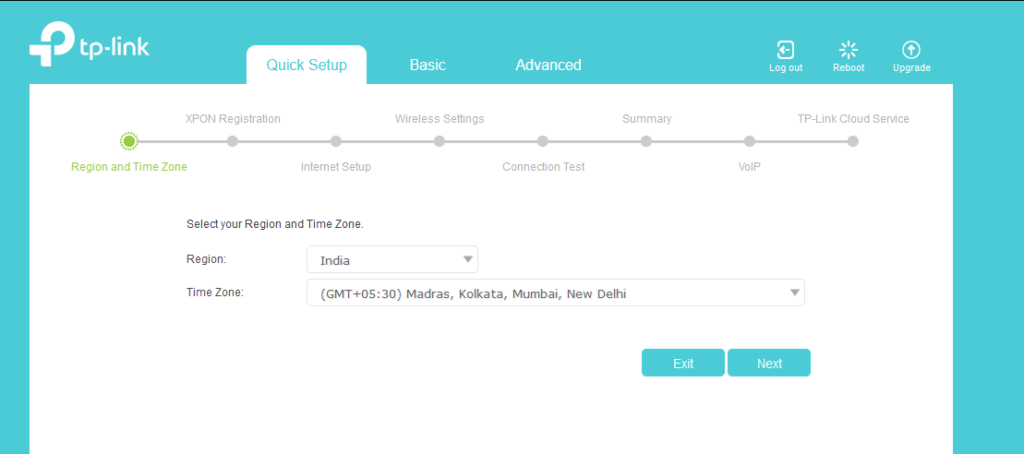
Now you are in the Quick Settings option. Set the time zone and region, then click Next.
Now, call the BSNL connection provider and ask them to release your old router’s MAC Address or PON Address. Send them a picture of the back of your router so they can configure the new MAC Address for your connection.
Once it is done. in the registration status it will show “Registered (05)”
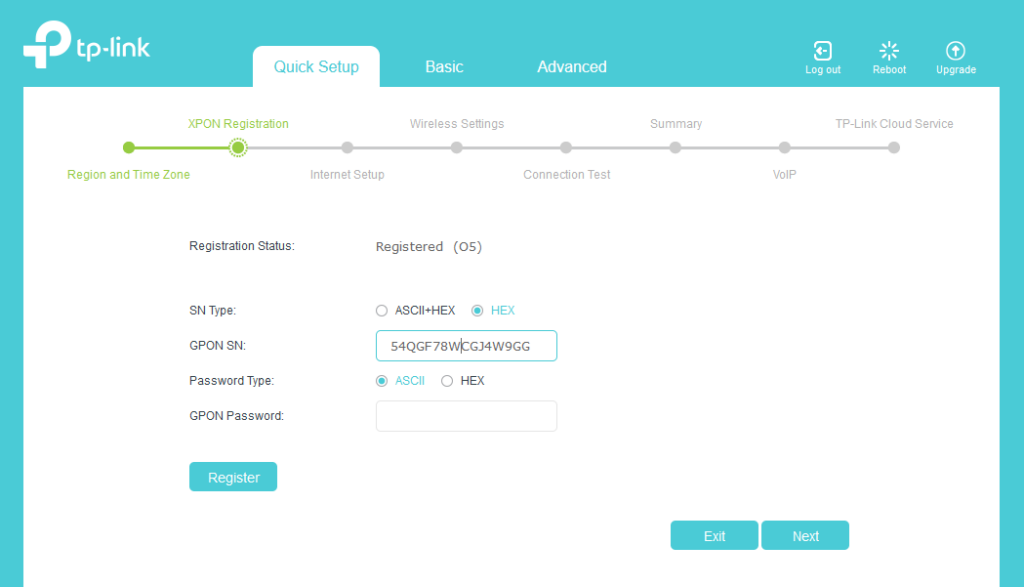
Now, from there, click directly on Advanced Option

Now click network -> Internet
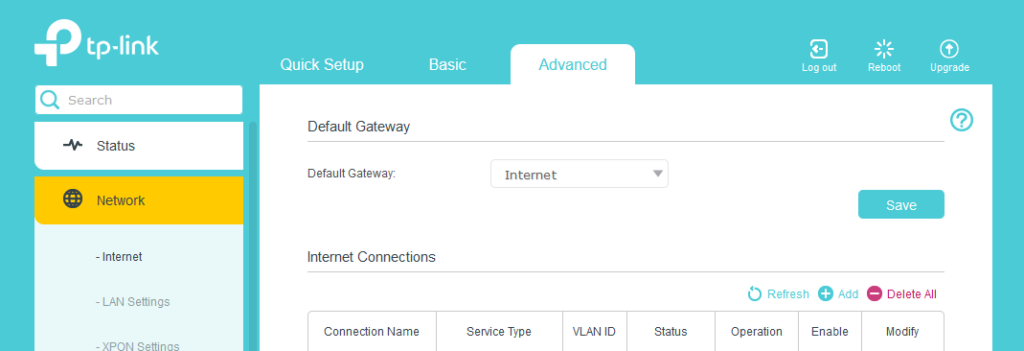
Click “Add Connection” and provide the details marked in yellow for the internet connection.


Click OK to save the connection
As you can see the internet Status is connected

Now add another connection for Voice by entering the details marked in yellow based on your connection for the Voice Connection.


click OK to save the connection
As you can see both the internet and voice Status is connected

Now that we have made the connections successfully, the next step is to get the internet working. To do this, go to LAN Settings and enter the details marked in yellow in the below snap.

Now you can access the internet through the router successfully

Now go to advance -> Telephony -> Telephone Number and click add.
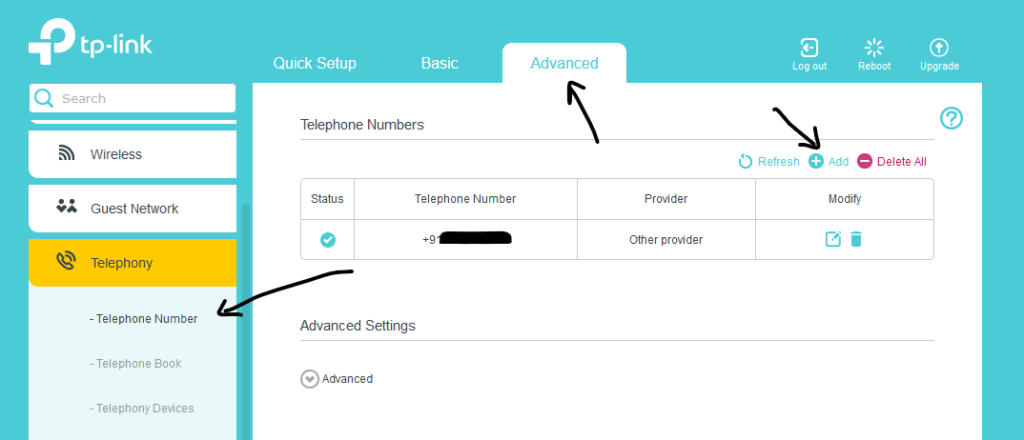
Add the following details as per the image and click okay to save
Note: If the outbound proxy URL doesn’t work, enter the outbound IP, which you can get from the connection status page of your old router.

Note: Please put your Outbound Proxy IP address, don’t use the URL
After adding the connection, the status will turn to blue tick which means the connection is successful.

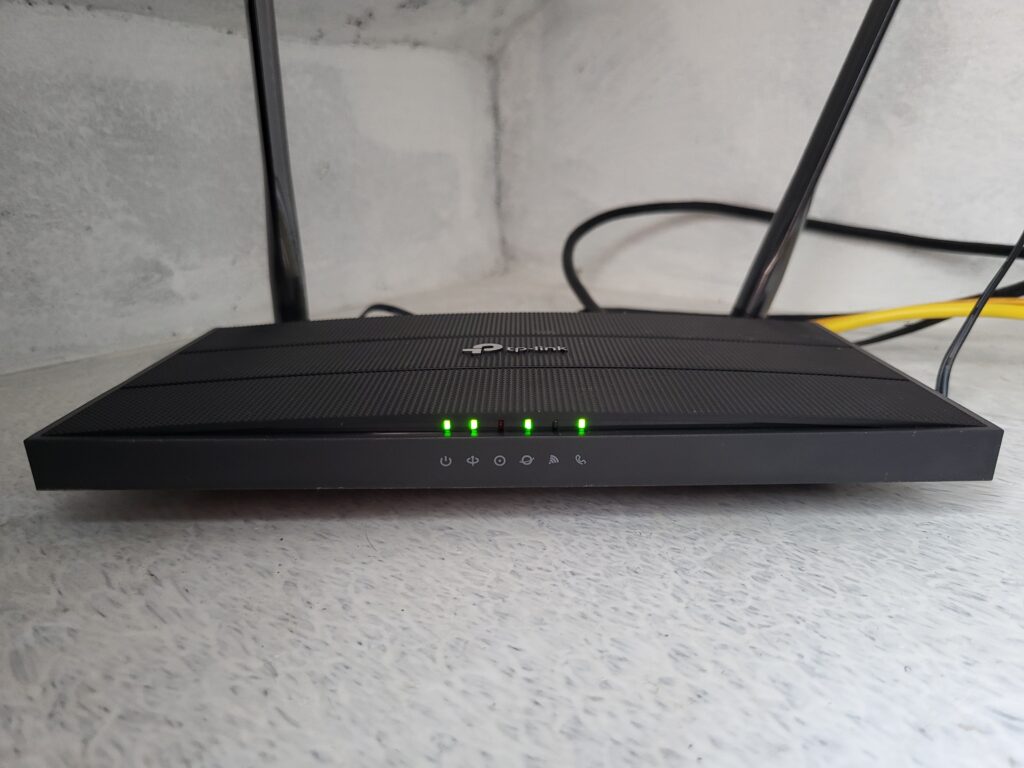
If you find this helpful, please support techwave.j2dk.in.
It worked for me, Thanks!
Thanks for the comment, Rahul. Glad to hear it helped.
@Dishone Prabu, i am also having the same model router. my bsnl internet is working. but, voip is not working. i tried all the methods posted by you here and others also. but, nothing worked. i am also from tamilnadu. both sip proxy tn.ftthvoip.bsnl.in and tn.ftth.ims.bsnl.in not working for me. i configured everything correctly but, telephony status not turning to blue. will you please guide me to activate voip in this router.
Sure, feel free to DM me a screenshot of your setup, and I can take a look.
I will send mail to your mail address. Thanks!…
Please send me email on [email protected]
I have the issue with voip please help me for it
Thanks! This made my day 😀
send me password for voip
Please ask the password with your ISP
WHICH PASSWORD TO BE USED FOR VOIP CONNECTION
I TRIED BSNL PASSWORD ALSO PROVIDED BY INTERNET CONNECTION PROVIDER.
BUT I COULD NOT ABLE TO CONNECT. HELP ME
For the outbound proxy, don’t use the URL; instead, use the IP address of your VoiceIP gateway IP address on your old router provided by BSNL.
Password is ftth@{last 4 digits of your landline number}.
Please DM on the right side chat box if any query!
Please provide outbound ip proxy address chennai region
To get the IP, change your router’s internet traffic type to Voice, and run an nslookup for the SIP proxy domain tn.ftth.ims.bsnl.in. You will get the IP address for the outbound proxy
wohh precisely what I was searching for, regards for posting.